
Adding a file
Completion requirements
You can add files to the site in one of the following two ways:
A. By dragging the file from a folder on the computer to the website page
B. By adding the file as a resource
Please note: it is recommended to use chrome or firefox browser.
A. By dragging the file from a folder on the computer to the website page
B. By adding the file as a resource
Please note: it is recommended to use chrome or firefox browser.
Way A - Dragging a file
1. Go to the course website and activate edit mode.
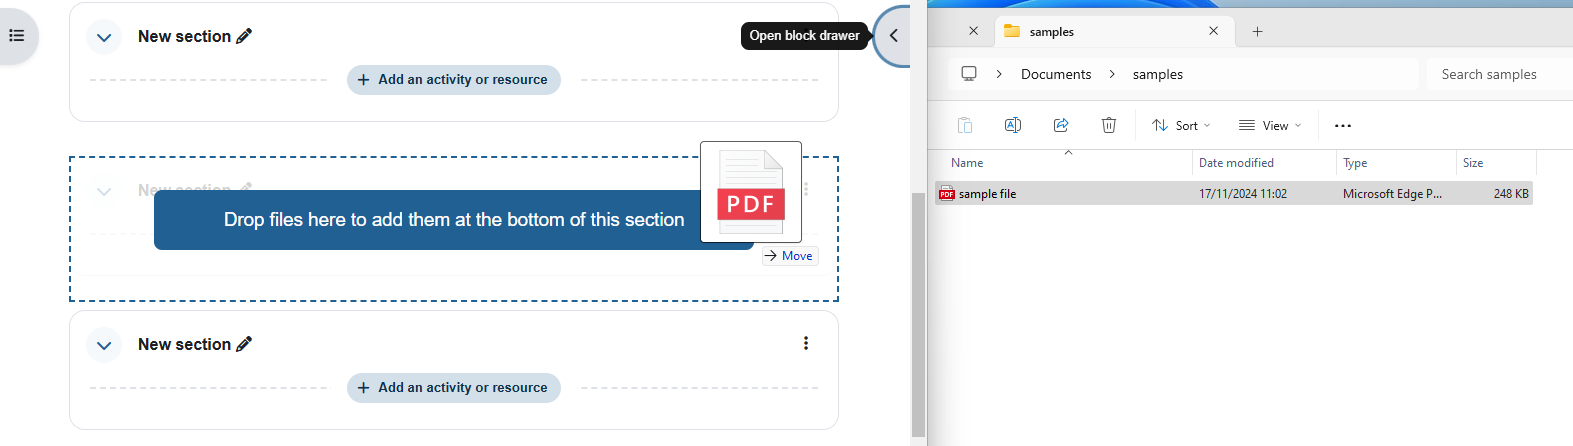
2. At the same time, open the folder on your computer where the files you wish to upload to the site are located. Minimize the folder and the website page so that both are displayed on the screen at the same time.
3. Using the left mouse button, drag the desired files to the bottom of the relevant teaching unit.
4. Release the files when a dotted box appears in the desired location.
Way B - adding a file as a resource
1. Go to the course website and activate edit mode.
 4. On the page that opens, fill in the name of the file as you would like it to be displayed on the site.
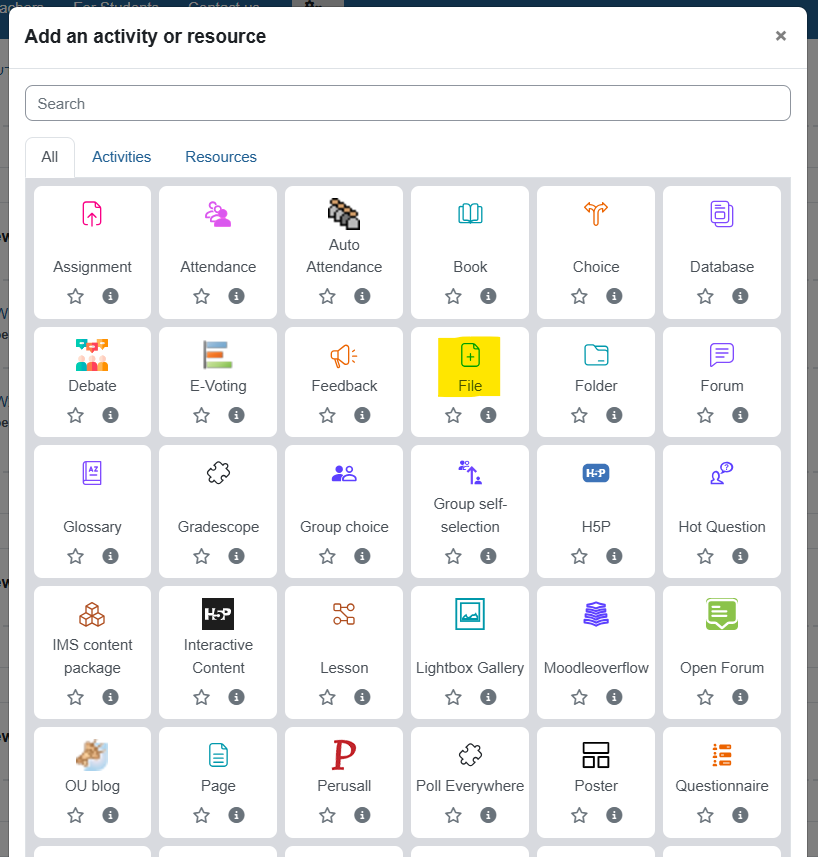
2. In the desired section click "+ Add an activity or a resource".
3. In the menu, select the "File" resource.
5. Click on the icon of the page or on the arrow in "select files".
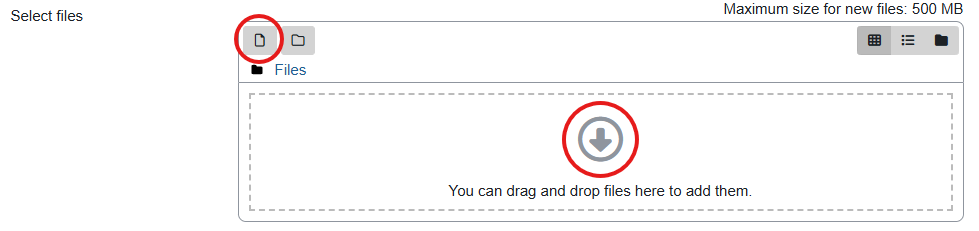
6. Another window will open where you can select files from the computer, from Google docs, from dropbox and more...
7. Save when finished.
Last modified: Thursday, 28 November 2024, 11:10 AM