Wiki
| מערכת: | אתר הקורסים של הטכניון - תשפ"ה |
| קורס: | Training Site For Teachers |
| ספר: | Wiki |
| הודפס על-ידי: | משתמש אורח |
| תאריך: | יום שני, 13 יולי 2026, 5:18 AM |
1. What is a Wiki?
Wiki activity (shared product) allows building content pages on the Internet without knowledge of HTML and with the participation of several participants. Each of the course participants can view existing wiki content, edit it and add their own content to each existing page. There is also the option of creating a personal wiki - a personal "subsite" that can be edited by a single user.
The wiki maintains a version history, allowing for viewing of edits by each course participant.
Examples of wiki uses:
- Personal/group journal summarizing learning activities.
- Lab reports submitted in groups.
- Collaborative research paper - each student chooses a part of the topic and updates the collaborative wiki.
- Building a glossary
- Joint summary of course lectures
- Collaborative analysis of a scientific article - guided reading
- Analysis of a collection of academic articles
- Collaborative activity towards a final exam
2. Adding a Wiki Activity
Go to the course website and enable edit mode.
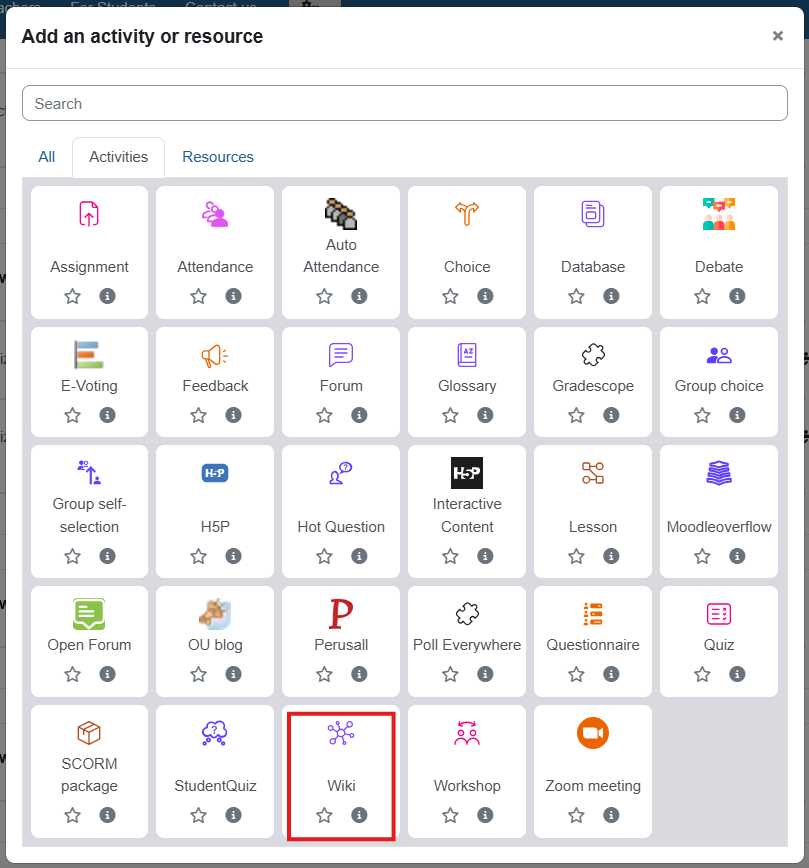
In the desired teaching unit, click "+ Add an activity or resource" and select the resource "Wiki".
General settings
- Name: Choose a meaningful name for the activity.
- Description: Write instructions for the assignment for the students.
- Wiki mode: Define whether you want one wiki for all students (collaborative), or a separate individual wiki for each student.
- First page name: Choose a title for the wiki's main page.
You can also add various access restrictions:
- Date: The activity will be open on certain dates only.
- Grade: The activity will only be open to students who have received a grade above/below a certain value in another activity on the site.
- Group: The activity is only available to students who belong to a certain group.
- User profile: The activity is only available to participants with certain attributes (less recommended).
To complete the process, click "Save and return to course".
3. Adding pages to a wiki
To add the first page from which students will begin the activity, click on the name of the wiki created in the previous step.
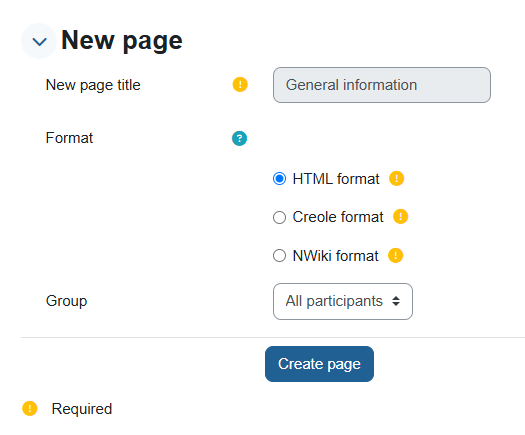
Click on "Create page".
In the window that opens, enter the content of the first page, from which the students will start working.
At the top of the page you can see a menu:
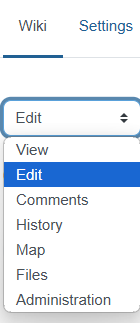
- View: View the current content of the page.
- Edit: Edit the content of the page.
- Comments: Any user can add comments as they wish, read and respond to the comments of others.
- History: This is a record of all changes and edits made to this page. Here you can see who edited the page, when and what changes they made.
- Map: Displays lists of wiki pages according to various classifications and sorting.
- Files: Here you can view the existing files on the wiki and upload new files.
- Administration: Here you can delete wiki pages that have been created but are not used or pages that are not suitable for various reasons at the discretion of the teaching staff.
4. Adding linked pages
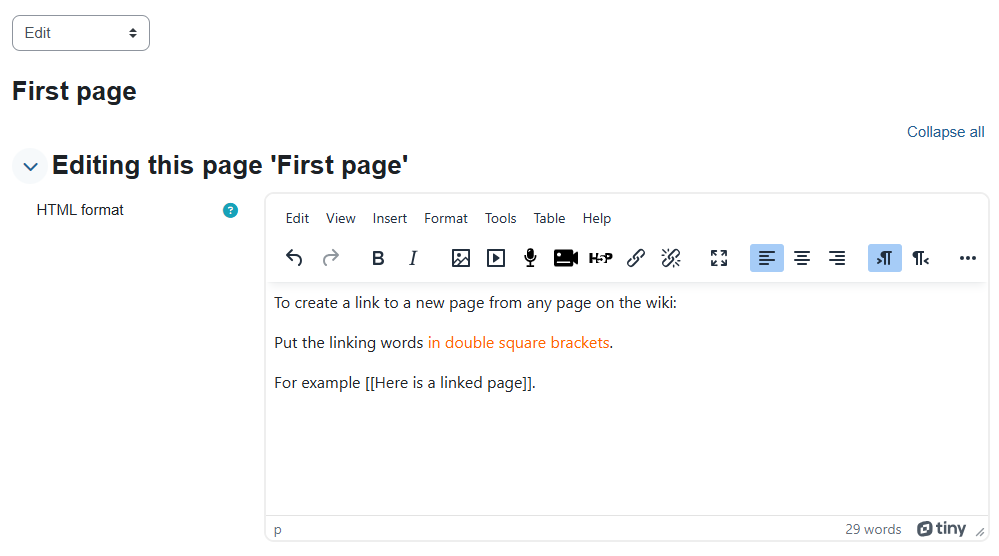
To create a link to a new page from any page on the wiki:
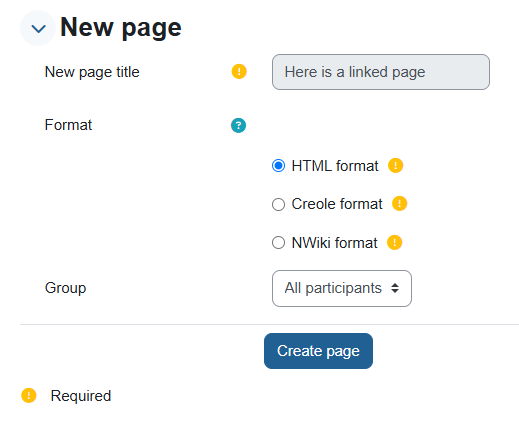
Put the linking words in double square brackets.
For example [[Here is a linked page]].
When you save a page and go to view it, you can see that these words have become a link.
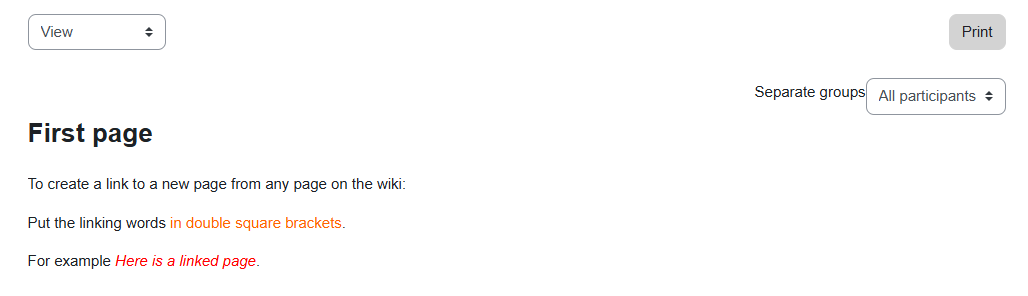
Clicking this link will create